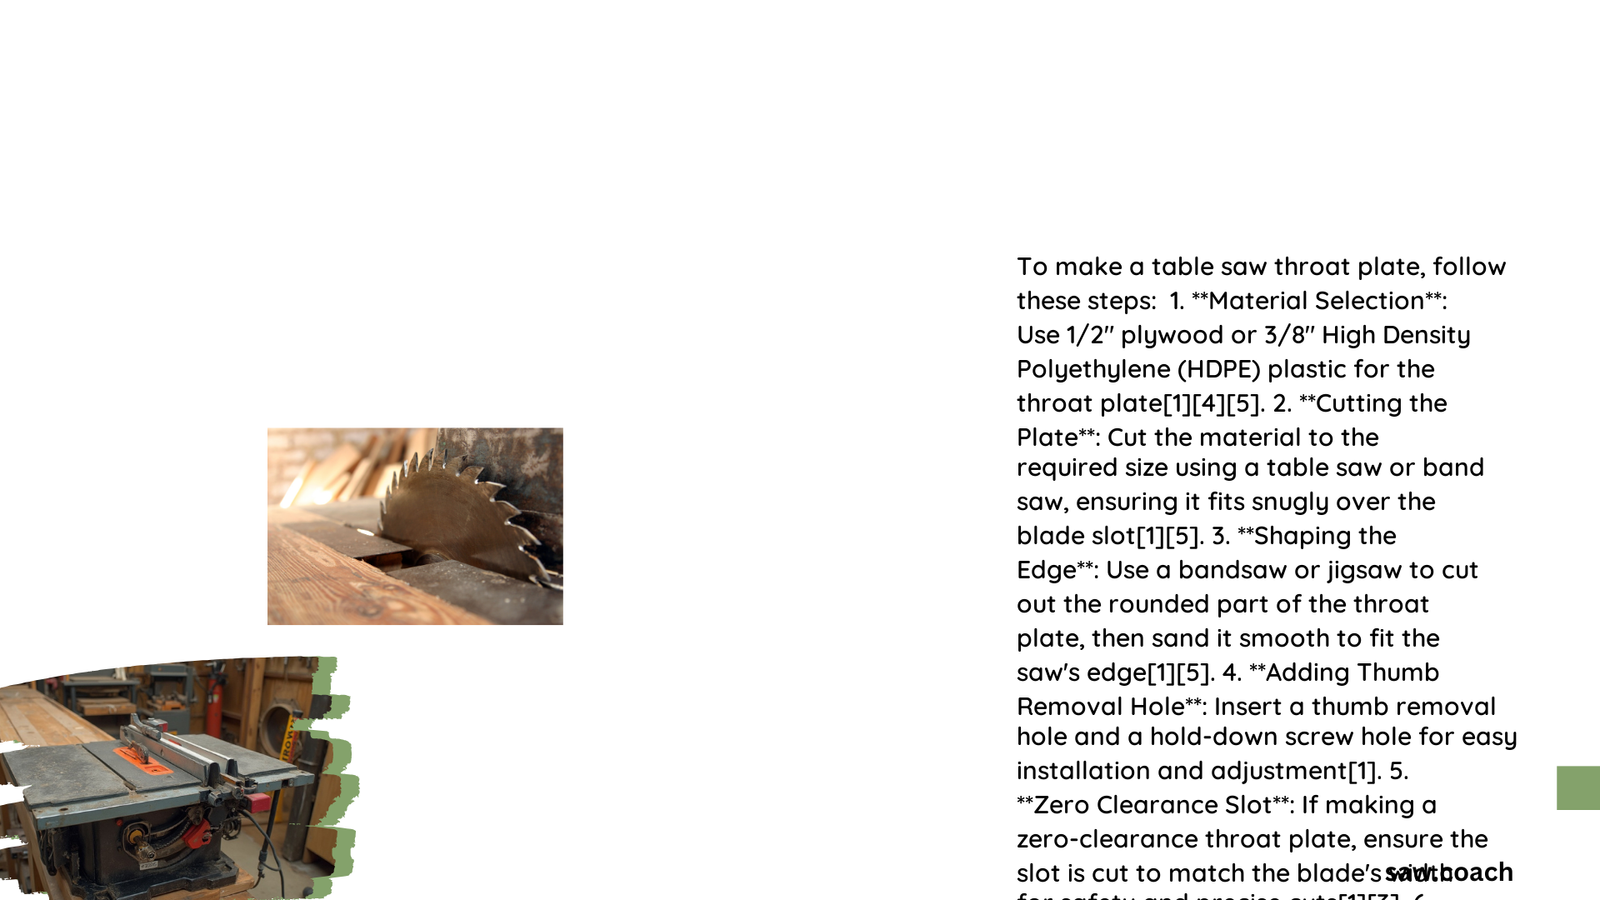
Creating a custom table saw throat plate requires precision, understanding of materials, and careful measurement. Woodworkers can transform their table saw’s performance by crafting a perfectly fitted throat plate that reduces tear-out, improves cutting accuracy, and provides a seamless work surface. This comprehensive guide will walk you through every critical step of making a table saw throat plate, from selecting materials to final installation.
What Materials Work Best for Table Saw Throat Plates?
Recommended Materials Comparison
| Material | Durability | Cost | Recommended Thickness |
|---|---|---|---|
| Plywood | Moderate | $ | 1/2 inch |
| HDPE Plastic | High | $$ | 3/8-1/2 inch |
| Phenolic | Very High | $$$ | 1/8-3/16 inch |
| UHMW Plastic | Excellent | $$$ | 3/8-1/2 inch |
Why Choose Specific Materials?
Each material offers unique advantages for making a table saw throat plate:
- Plywood:
- Budget-friendly option
- Easy to work with hand tools
- Readily available at local hardware stores
-
Requires additional sealing for moisture resistance
-
HDPE Plastic:
- Extremely durable
- Low friction surface
- Resistant to wear and chemical interactions
- Ideal for precision cutting environments
How Do You Measure for a Perfect Throat Plate?

Precise Measurement Techniques
- Remove Existing Throat Plate
- Carefully extract the current plate
- Clean the mounting area thoroughly
-
Inspect for any wear or damage
-
Measurement Process
- Use digital calipers for accuracy
- Measure length, width, and thickness
- Record dimensions with 1/64 inch precision
- Create a paper template as a backup reference
What Tools Will You Need?
Essential Toolkit
- Digital calipers
- Jigsaw or bandsaw
- Drill with various bit sizes
- Sandpaper (multiple grits)
- Safety glasses
- Measuring tape
- Pencil
- Straight edge
- File set
How to Cut and Shape the Throat Plate?
Cutting Strategies
- Transfer Template
- Trace template onto chosen material
- Use painter’s tape for clean cutting lines
-
Mark mounting hole locations precisely
-
Cutting Techniques
- Cut slightly oversized initially
- Use slow, steady blade movement
- Support material to prevent vibration
- Finish edges with fine-grit sandpaper
What Are Common Installation Challenges?
Troubleshooting Tips
- Alignment Issues
- Check plate sits flush with table surface
- Use adjustment screws if available
-
Test blade clearance multiple times
-
Material Warping
- Choose stable, flat material
- Avoid thin sections
- Consider reinforcement techniques
Pro Tips for Long-Lasting Throat Plates
- Apply paste wax for smoother operation
- Regularly inspect for wear
- Replace when significant blade marks appear
- Keep surface clean and debris-free
Final Recommendations
Making a table saw throat plate is a skill that improves with practice. Start with affordable materials, take precise measurements, and prioritize safety throughout the process.
Safety First
- Wear protective eyewear
- Use push sticks during cutting
- Work in well-ventilated area
- Disconnect power during modifications
Cost Breakdown
- Material Costs: $10 – $50
- Tool Investment: Existing workshop tools
- Time Investment: 2-4 hours
Maintenance Schedule
- Inspect: Every 3 months
- Clean: Monthly
- Replace: Annually or when significant wear occurs
Reference:
– Woodworking Web – Throat Plate Tutorial
– Woodworking Talk Forum
– Sawmill Creek Woodworking
